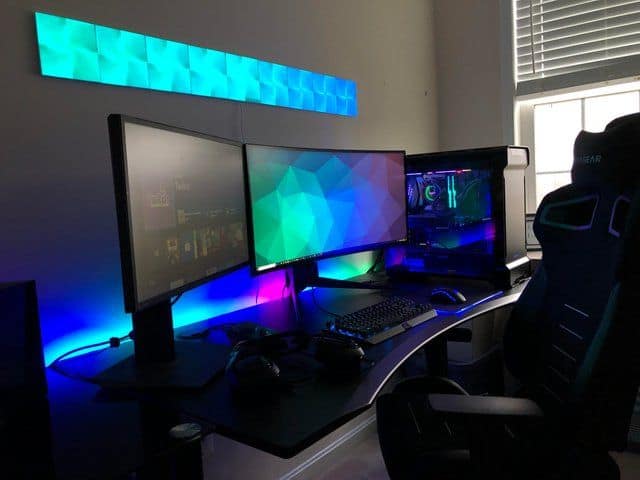
Fed up with a slow computer that can’t handle new games? Building a gaming PC flips the script. Lag and glitches wrecked the fun before, but crafting my own setup made games run smooth and lightning-fast. At first, the tiny parts and confusing terms felt like a puzzle, but breaking it down step by step turned it into a breeze. Picking the right pieces, like a solid graphics card and a powerful processor, is the real secret weapon. Gamers wanting to level up their play will find this journey totally worth it. Dive into building and catch the rush of a powerful rig that makes you ask why you didn’t start sooner.
Why Build Your Gaming PC?
Before we dive into the nitty-gritty of building your gaming PC, let’s talk about why it’s worth the effort. Here are a few compelling reasons:
1. Customization
Building your gaming PC allows you to tailor it to your exact needs and preferences. You can choose the components that match your desired performance and aesthetics.
2. Cost-Effective
Believe it or not, building a gaming PC can be more cost-effective than buying a pre-built one. You can allocate your budget where it matters most, optimizing your gaming experience.
3. Upgradability
With a self-built PC, upgrading individual components is much easier. This means you can keep your system up to date without breaking the bank.
4. Learning Experience
Building a gaming PC is a fantastic opportunity to learn about computer hardware. It’s a skill that can come in handy in many aspects of life.
Now that you know why building your gaming PC is a great idea, let’s get started.
Step 1: Define Your Budget
The first step in building a gaming PC is to determine your budget. Your budget will dictate the quality of components you can afford, so it’s essential to establish this before moving forward.
Step 2: Choose Your Components
CPU (Central Processing Unit)
The CPU is the brain of your gaming PC. It determines how well your PC can handle tasks. Popular choices include AMD Ryzen and Intel Core processors.
GPU (Graphics Processing Unit)
The GPU is responsible for rendering images and videos. It’s crucial for gaming performance. Options like NVIDIA GeForce and AMD Radeon are popular among gamers.
RAM (Random Access Memory)
RAM affects multitasking and overall system speed. Aim for at least 16GB of RAM for a smooth gaming experience.
Storage
Choose between SSDs (Solid State Drives) for speed or HDDs (Hard Disk Drives) for more storage capacity. Many gamers opt for an SSD for their operating system and a few favorite games.
Motherboard
The motherboard connects all your components and peripherals. Ensure compatibility with your CPU and other components.
Power Supply
Select a power supply unit (PSU) that can handle your components’ power requirements and leave room for future upgrades.
Case
Choose a case that accommodates your components and offers good airflow for cooling.
Step 3: Assemble Your PC
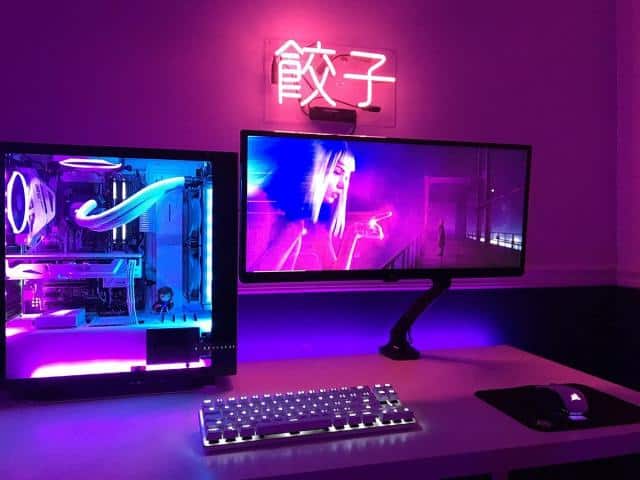
Assembling your gaming PC is like putting together a puzzle. Follow these general steps:
- Install the CPU onto the motherboard.
- Attach the GPU.
- Insert the RAM sticks.
- Connect storage drives.
- Mount the motherboard in the case.
- Connect all cables and wires.
- Power up your PC.
Step 4: Install the Operating System
Once your gaming PC is assembled, it’s time to install the operating system (OS). Most gamers prefer Windows, but Linux is a viable option for some.
Step 5: Install Drivers and Updates
To ensure your gaming PC runs smoothly, install the necessary drivers for your components and update your OS.
Step 6: Download Your Favorite Games
Now comes the fun part – downloading and playing your favorite games. Install gaming platforms like Steam, Epic Games, or GOG, and start building your game library.
Step 7: Optimize Your Settings
To get the best gaming experience, tweak in-game settings and graphics options to match your hardware’s capabilities.
Congratulations! You’ve successfully built your gaming PC and are ready to dive into the world of gaming. If you are seeking a source and information https://unsourced.org/ to learn more.